Step 1:
First, login to your SyncSpider account, click on the option ‘Integrations’ located on the left-side of the screen as shown below.

Step 2:
You will be able to see all the integrations offered by SyncSpider on your screen. Select WordPress application from the list.

Or use the search bar to find it easily:

P.S. You can add new integration while Creating a task as well.
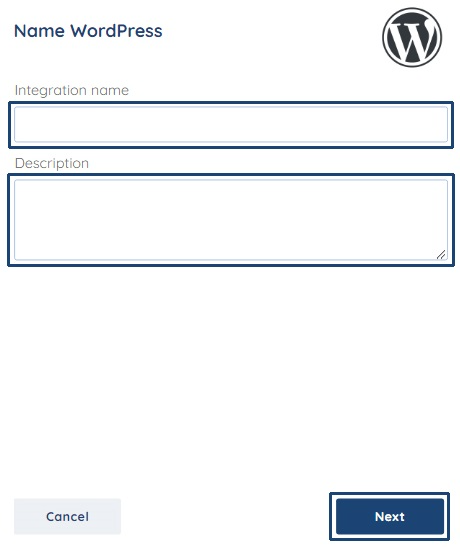
Step 3:
After selecting WordPress, enter the integration name and description then click on the next button.
NOTE: You can have more than one integration with one app/tool. E.G. Integrate your Google sheet with business email and WooCommerce. Using descriptions will help you to organize better.
Step 4:
Copy the URL that the visitors of your website would use to reach your WordPress page and insert it into the WordPress URL field.
Step 5:
Now, you need to enter the API key for the integration. The next steps would help you to generate it.
To generate the API key, you would need to login to your WordPress admin panel. This API key has to be entered so that it facilitates the integration between Sync Spider and WordPress.
You also need to click the download plugin button for this process for the SyncSpider WordPress plugin.
NOTE: We will release new SyncSpider plugin versions occasionally.
It is important to always have the latest version installed on your WordPress site.
If you get notified that a newer version of SyncSpider plugin is available, simply redownload it from this window.

Step 6:
Log in to the WordPress admin panel and click on plugins- add new located at the lower-left corner as shown below.

Step 7:
Choose the plugin that has downloaded and click the option install now and then activate plugin as shown below.


Step 8:
The plugin will get installed and appear on the lower side of the panel as SyncSpider settings. Click on it and the API key will be visible as shown in the screenshot.

You can copy and paste it from WordPress to your SyncSpider account and click finish.
__________________________________________________________________
Wordpress is just one of the tools we support!
To check the list of the tools we support, please click here.
If you don't see your favorite tool on our list, please take the time and send us a request here to create an integration for you OR Up-vote it if it's already on the list :)
Was this article helpful?
That’s Great!
Thank you for your feedback
Sorry! We couldn't be helpful
Thank you for your feedback
Feedback sent
We appreciate your effort and will try to fix the article